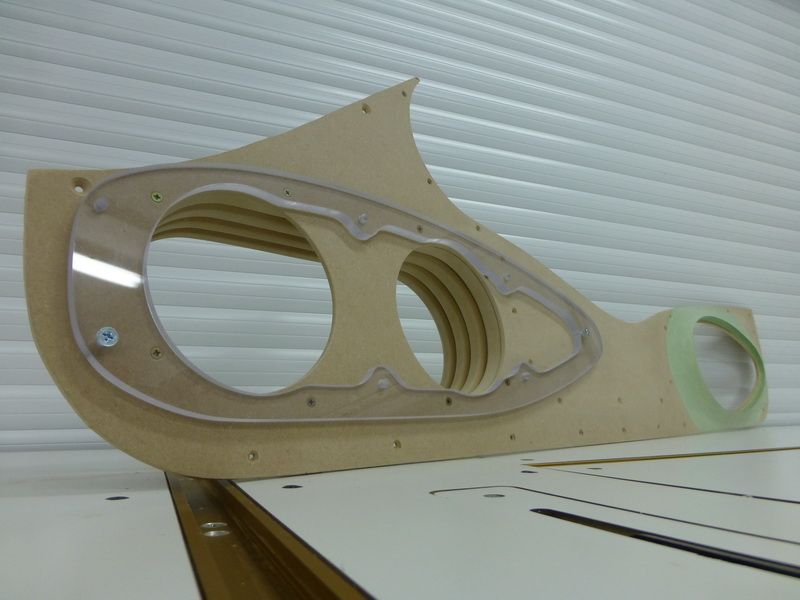
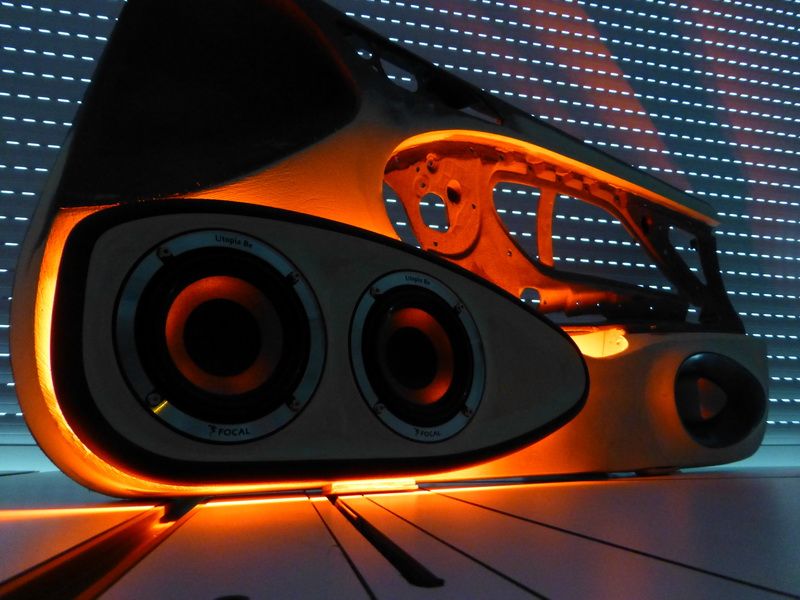
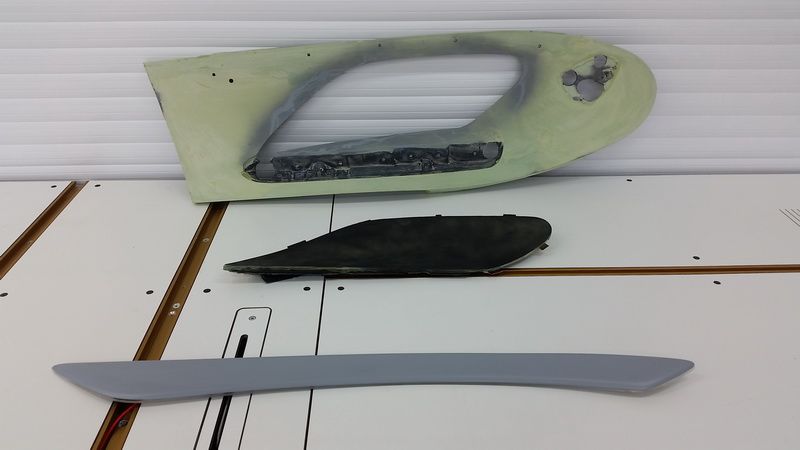
These are about all the parts I have ready for the doors. This is from the left, and fort he right, everything else is also ready.
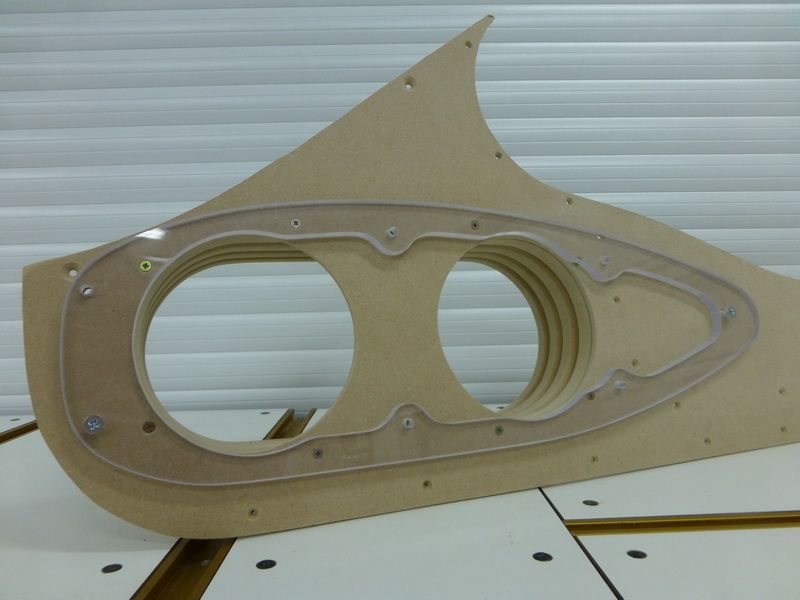
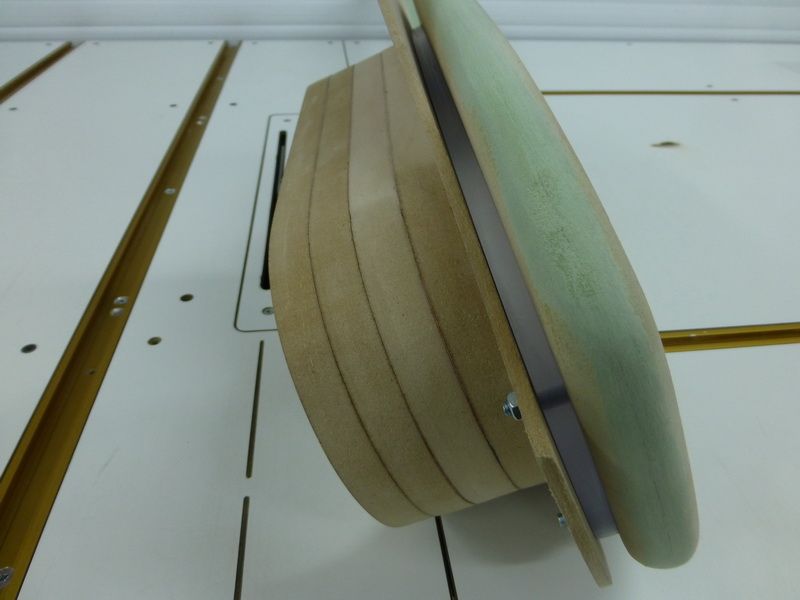
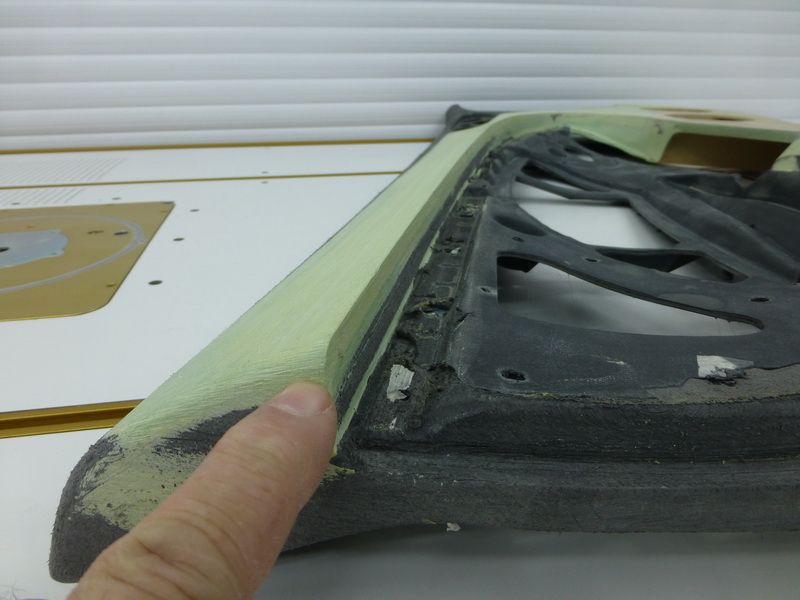
Because the part of the speaker will “float” against the doorpanel, I milled a 8mm thick plexiglass
On the inside of the plexi I’m going to paste a orange led strip
Once the interior lighting is on, everything will glow up nicely through the plexi
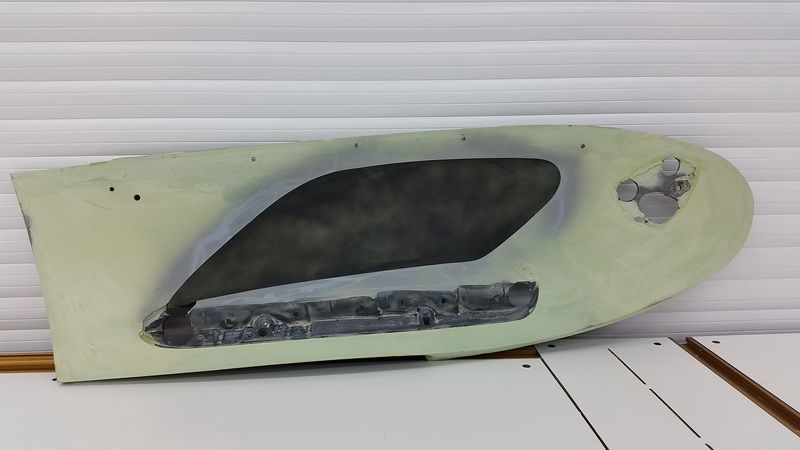
This will beo ne entire part, mounted against the original door.
.
Here you can see the plexi
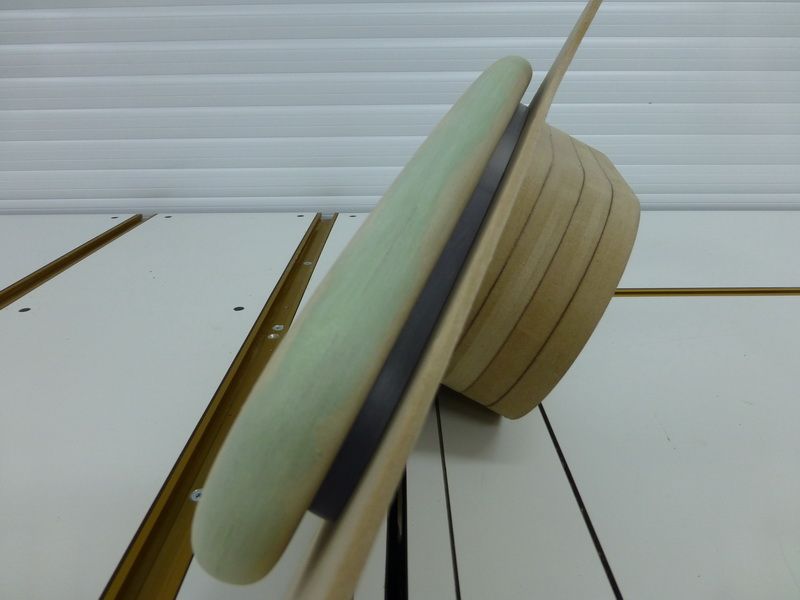
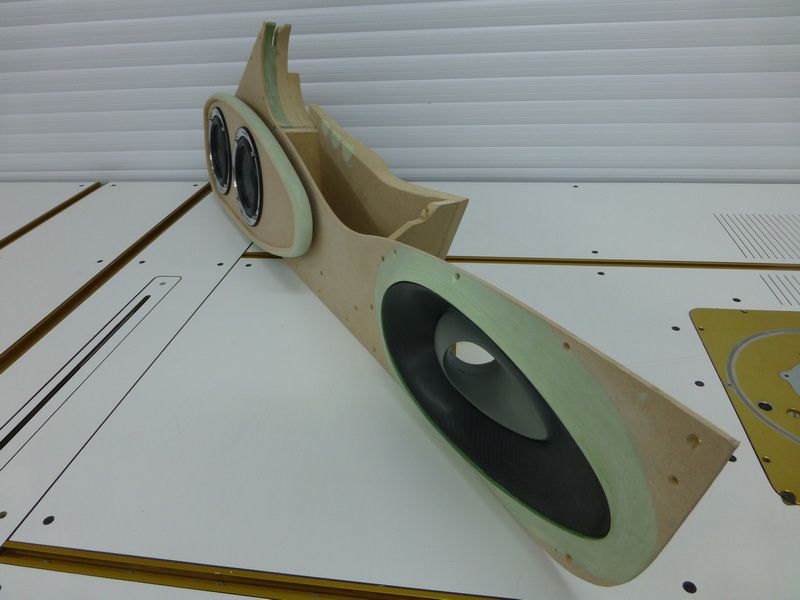
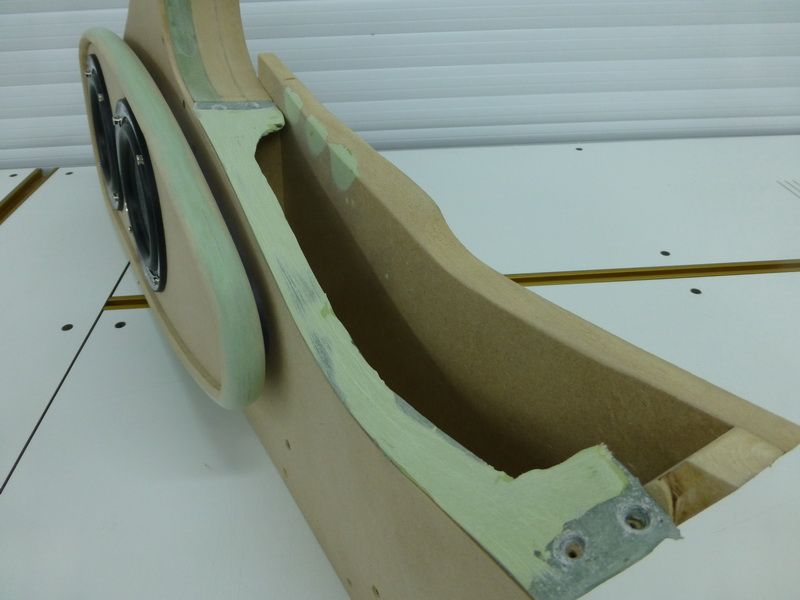
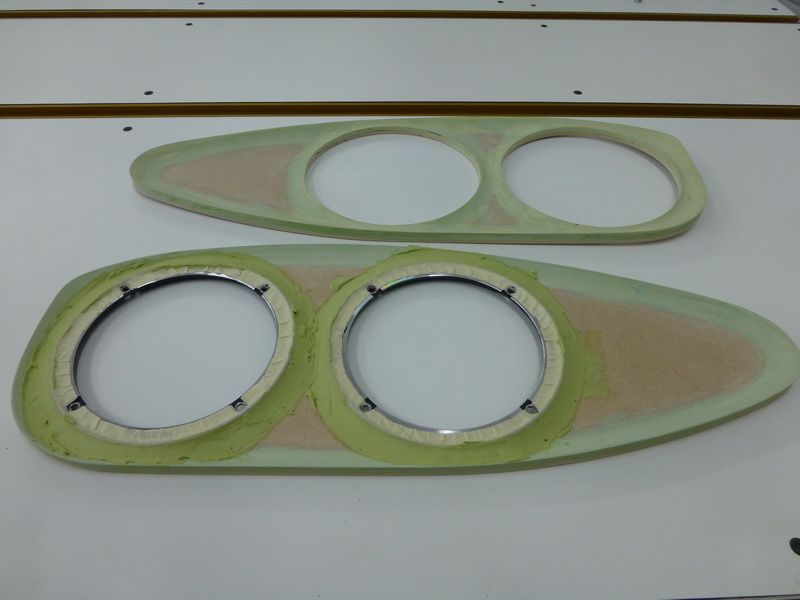
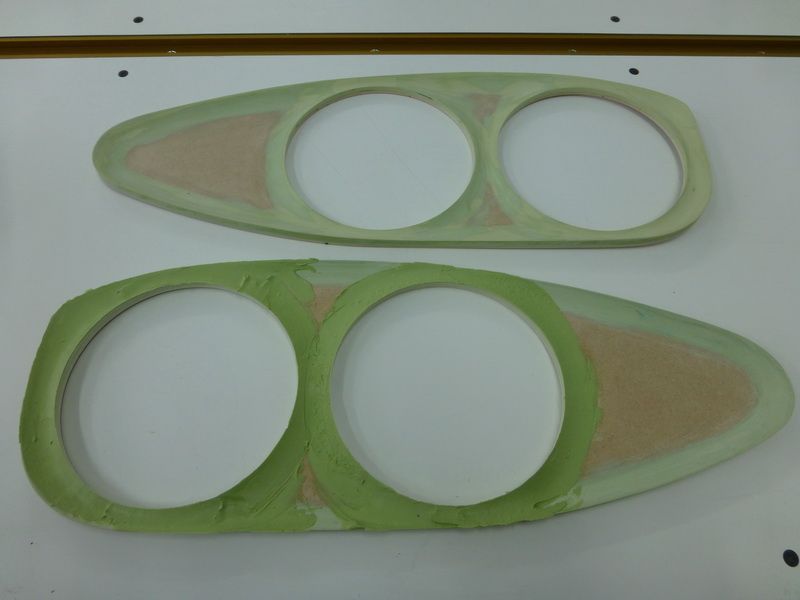
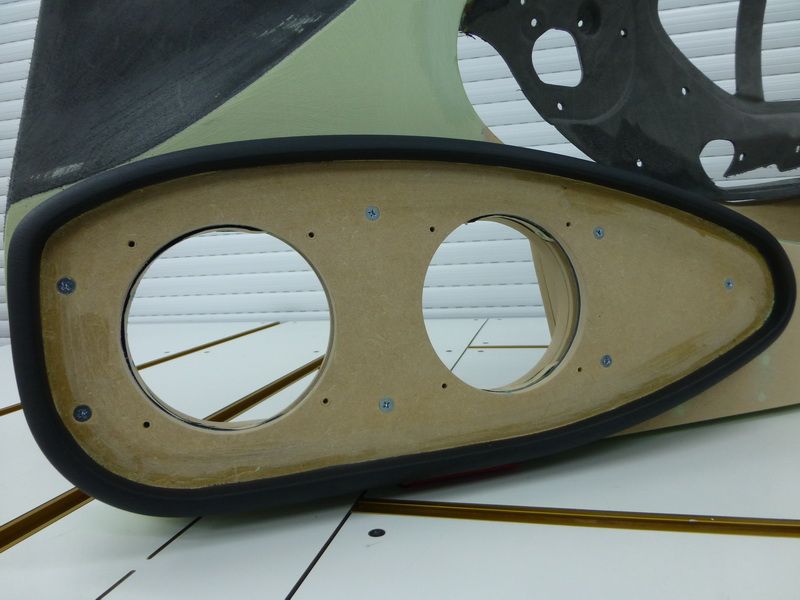
The MDF around the spakers, will be covered in a layer of carbon fiber. But this shape needs to have some roundings before I start.
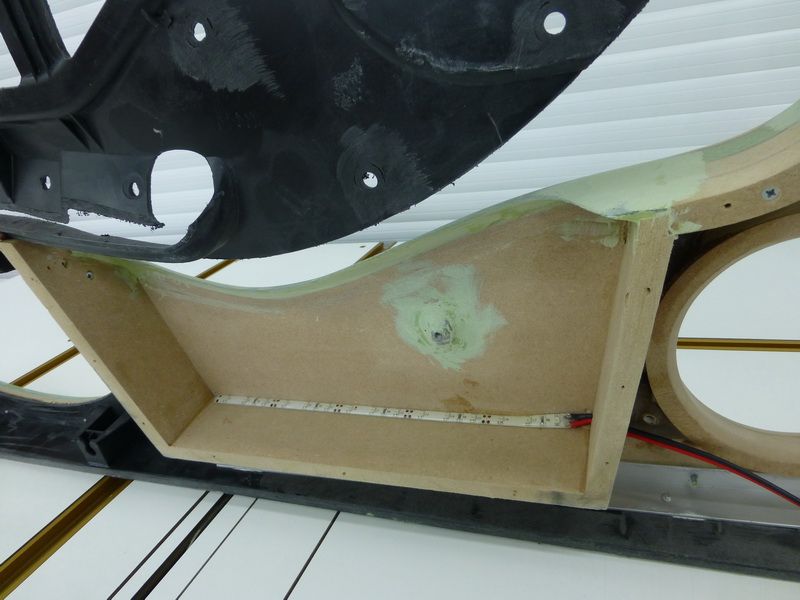
Here you can also see I made a little bin.
Then I made a piece of polyester to give it a nice finsih.
I remounted the basereflex. It won’t be functional anymore, but I thought I put a bit too much work into it to throw it in the bin.
Al these things will be screwed and glued on to the door until it’s one entire part.
Once this is dry, all the holes from the crews will be covered up. And then filler will come over.
I’ve already done this with the right door, and it looks pretty good I must say.
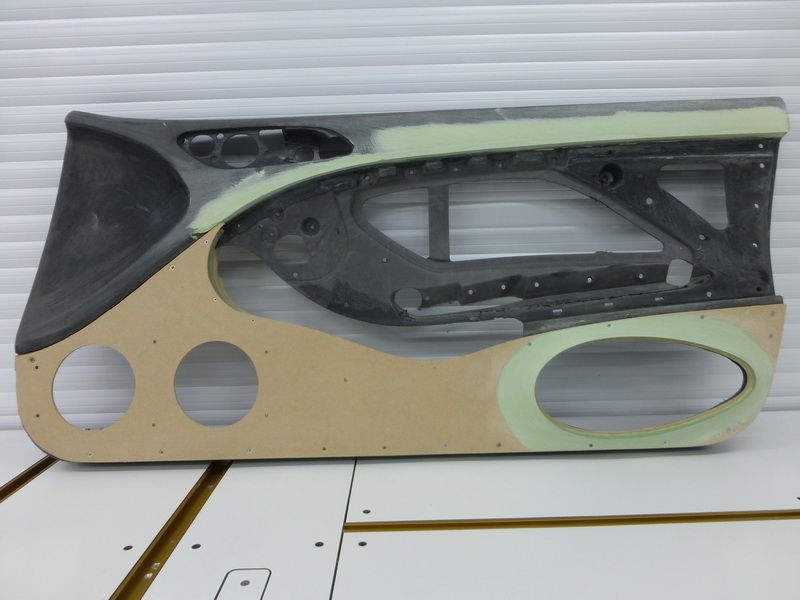
Now I have most of the parts ready of those 2 doors, I glued and screwed it to the original panel.
You can see I didn’t mind one or two screws less
Once this was done, I’ve managed to work out evertything it looks like one big part.
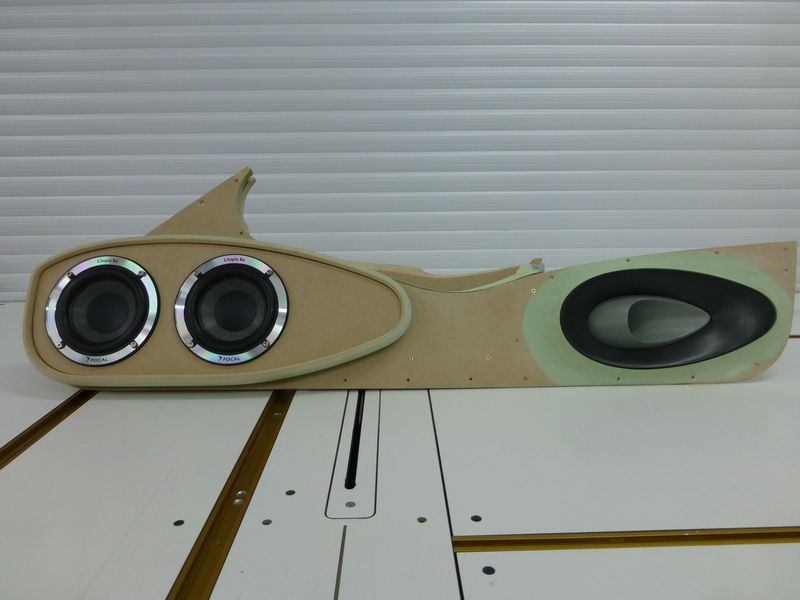
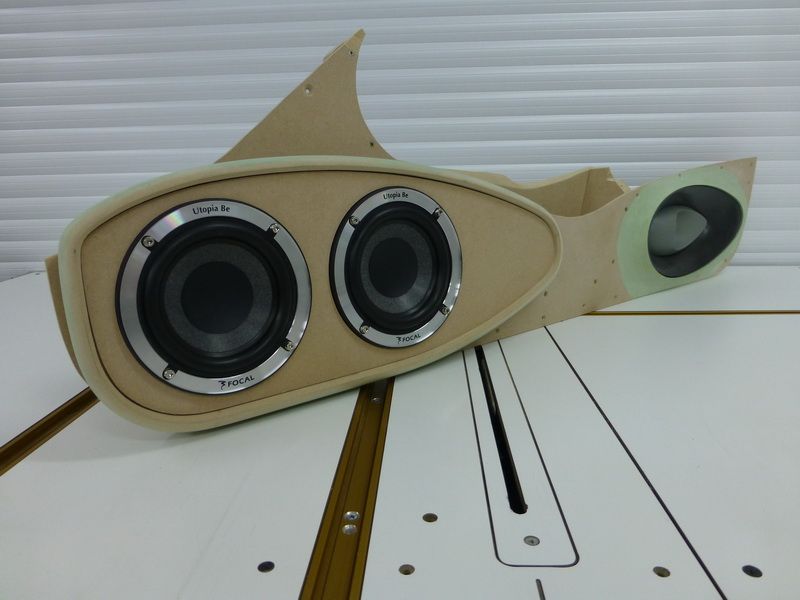
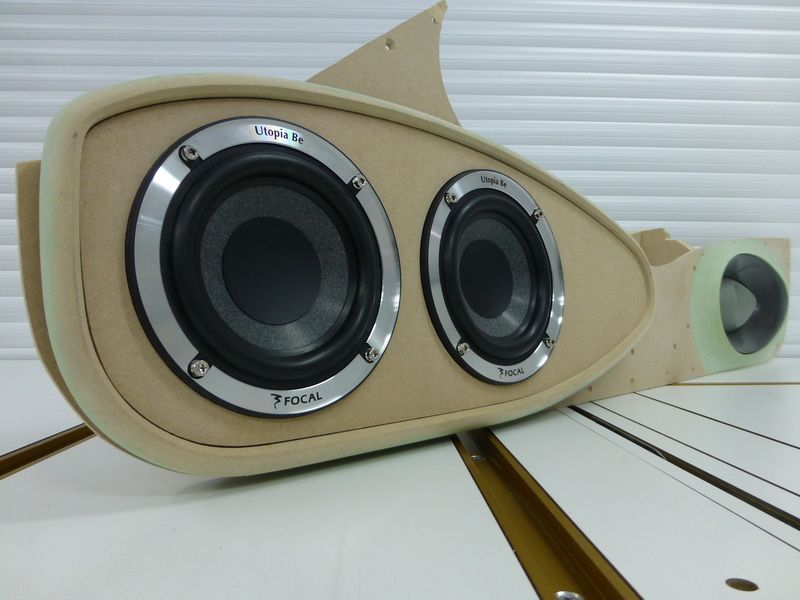
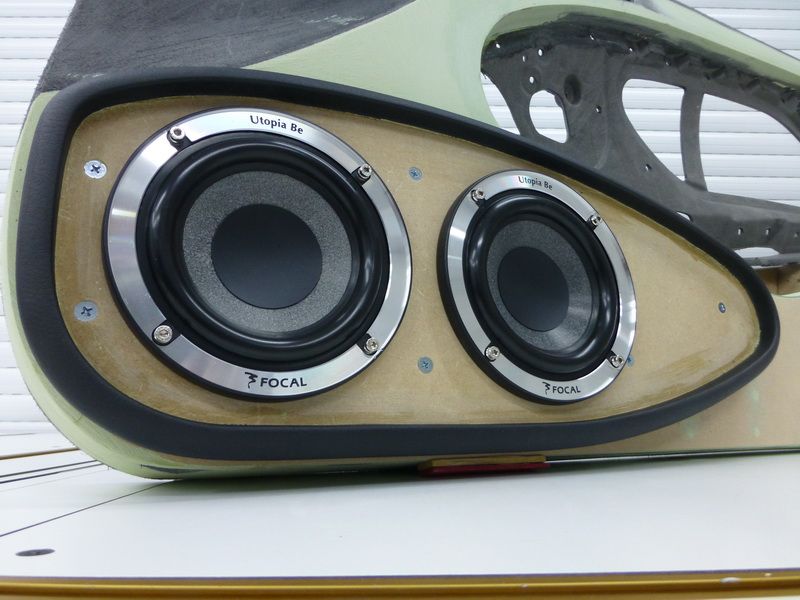
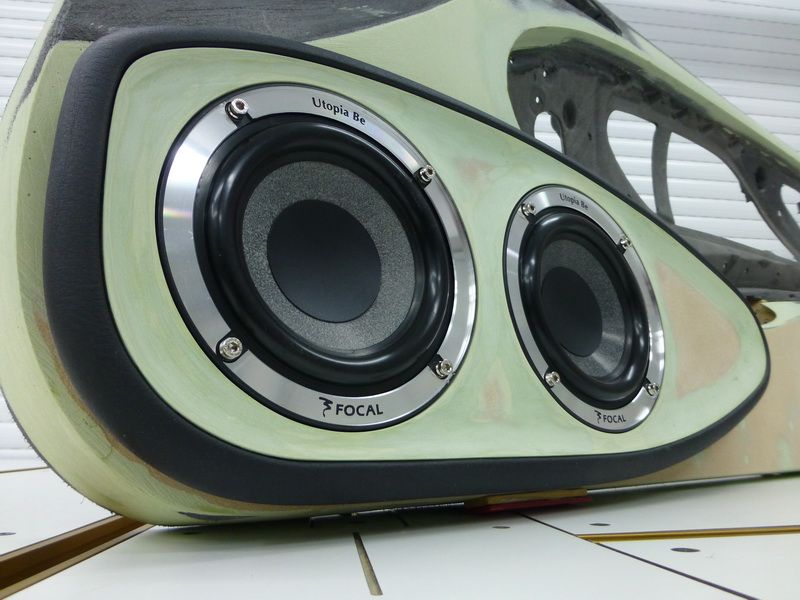
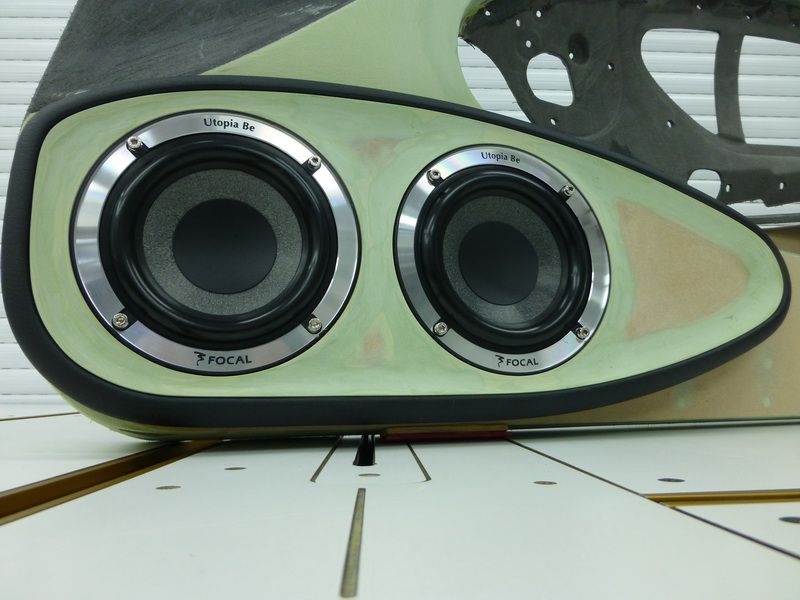
In the meanwhile the BMW artificial leather had been delivered and I covered the 2 speaker-panles. This needed to be done so the I could adjust the little front-panels for that.
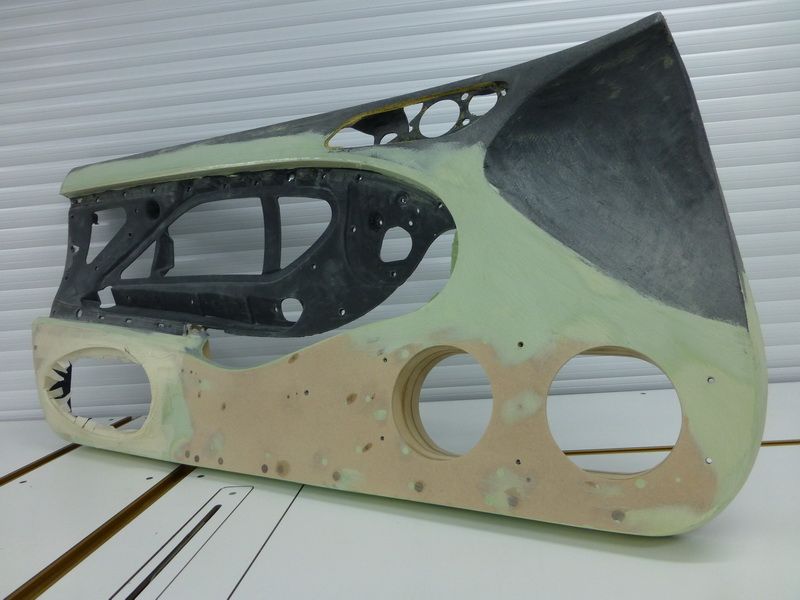
On this one you can see the top one is ready. The meaning is that there’ll be a nice round edge around the speakers and the outside. This is a time consuming job. Onderneath you can see the plate under construction.
The first time putting filler with a rubber flap and moddelling it.
Here you see I just did some on my finger. It’s sometimes the easiest way to get a perfect rounding. Sometimes the easiest way is the dirtiest
Once this was all done, I needed to do the same around the speakers.
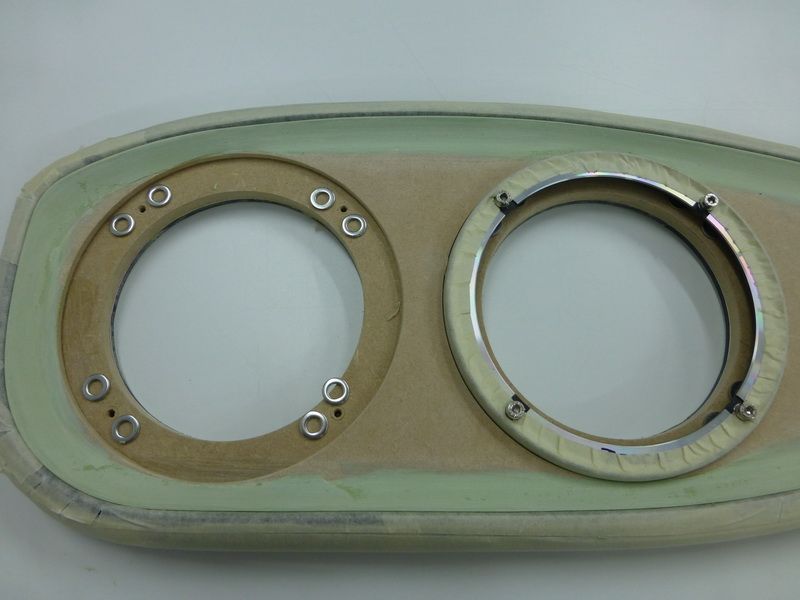
I’ve already done this several times, so I knew that if I demounted the ring to sand the filler, the edge on top will break off.
So I used some roundells to put under the ring, each 2mm thick. So everyting is a little bit higher. When something breaks off, I still have filler enough, and I don’t need to do it all again.
Wisdom comes through the years.
Putting filler and sanding
Making the roundings of these 2 plates I’ve been busy for 6 hours. I could have made these just flat, but…..you know.
Here the backside of the little bin. Cause I don’t want any stuff in my car, nothing will ever be in this ones, but it looks so cool when you have it.
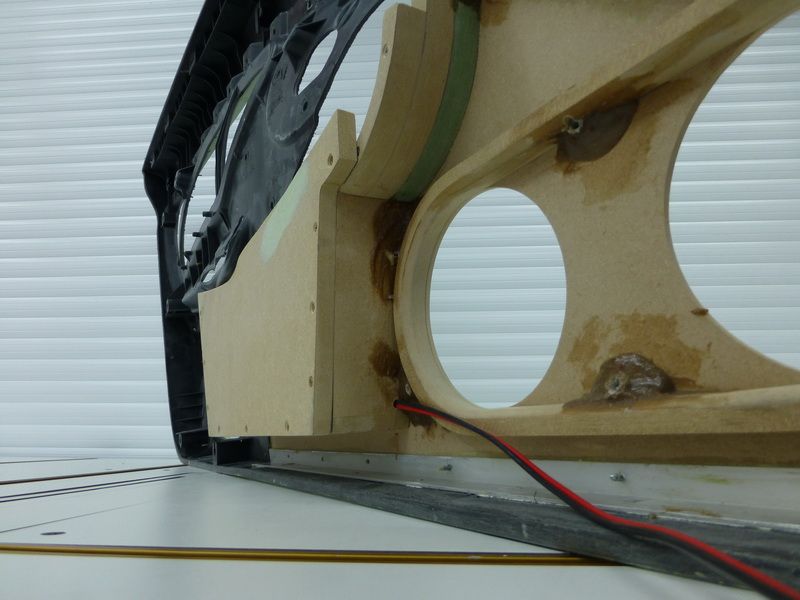
The backside of the plate I can screw off for upholstery
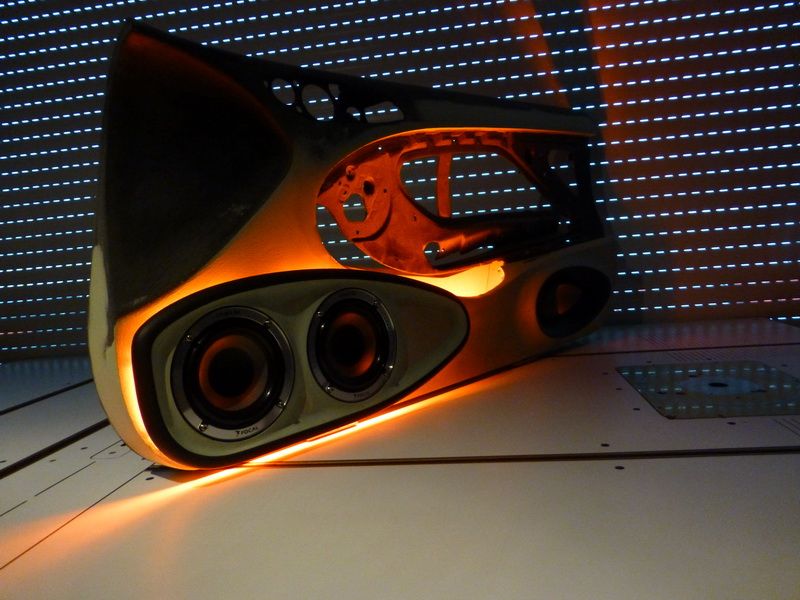
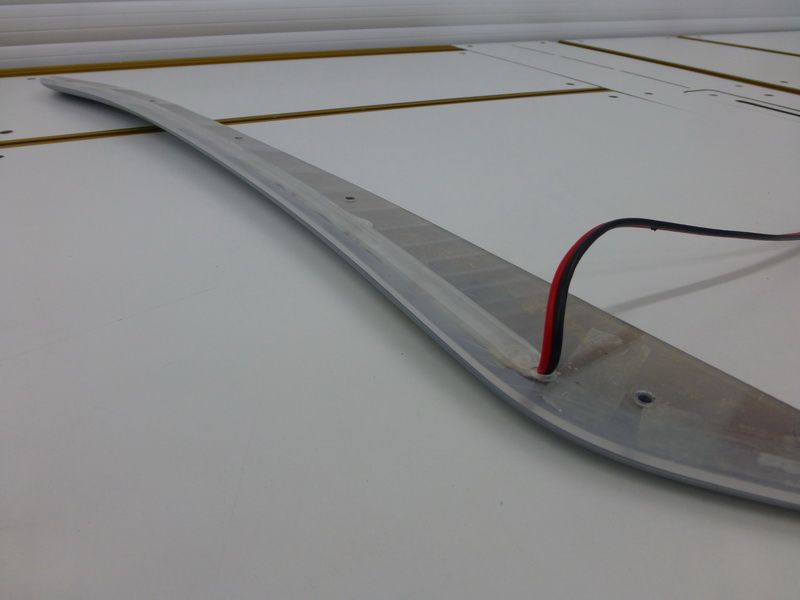
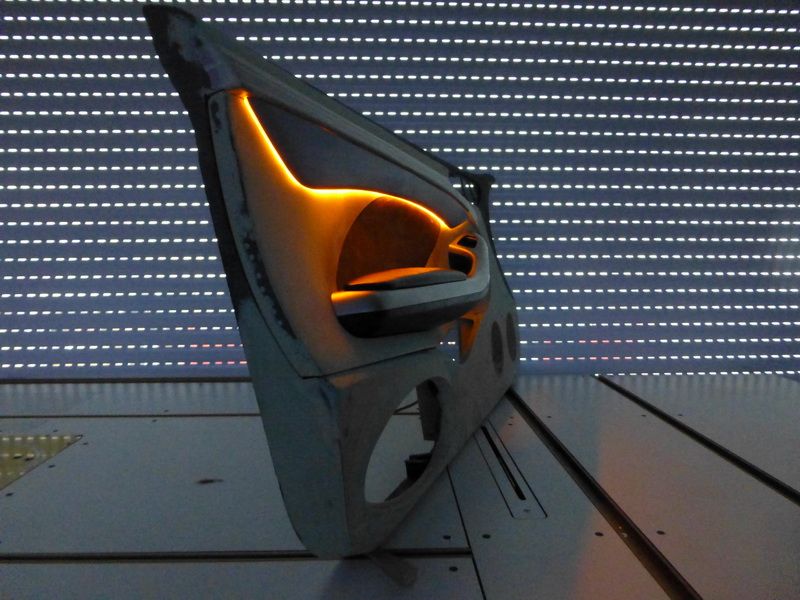
This is the 8mm thick plexiglass between the doorpanel and the speakers.
you can also see I mounted an orange led strip on the inside. This one is also 8mm thick
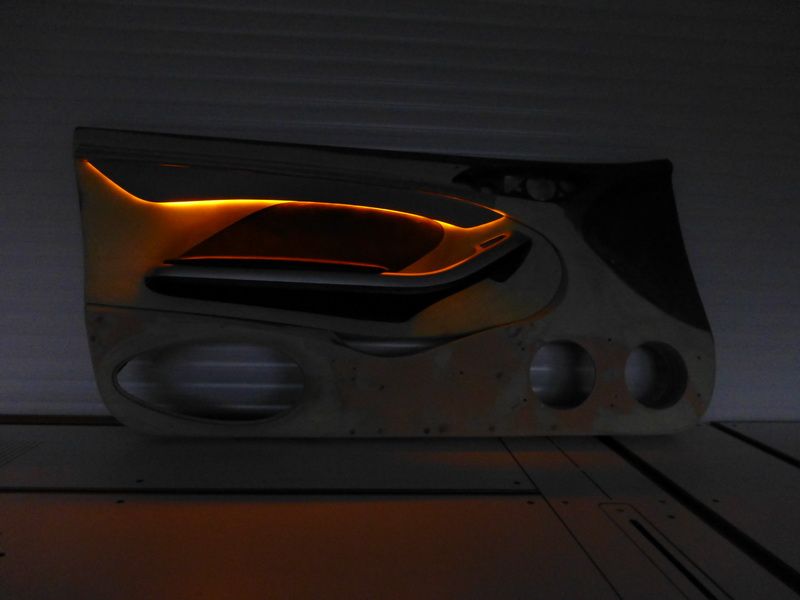
Here the result with the lighting on.
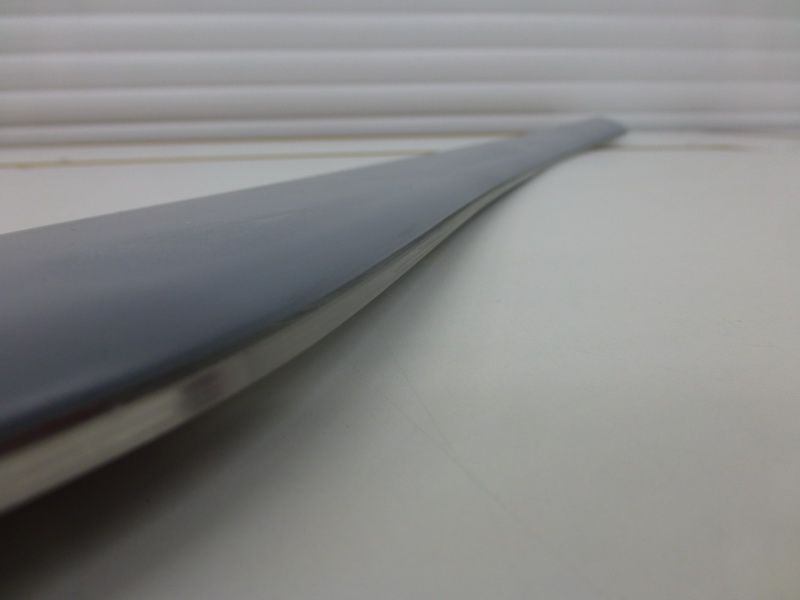
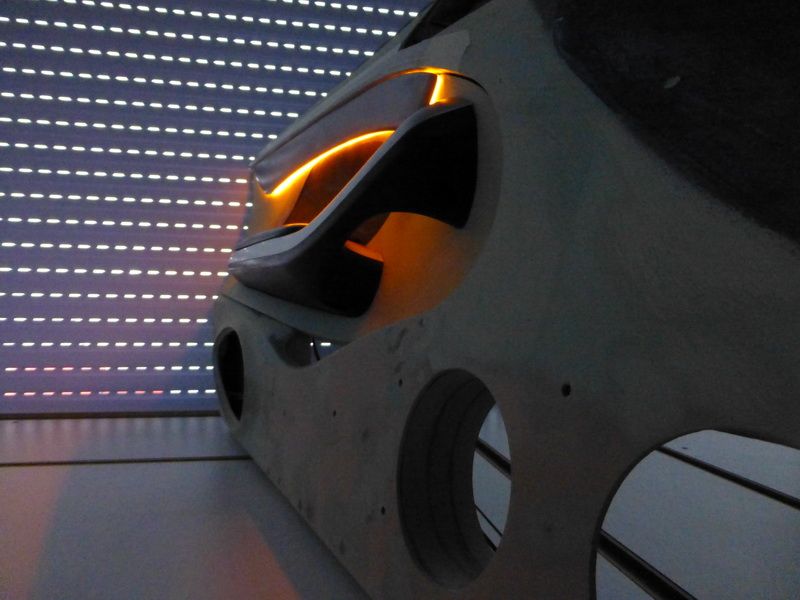
Here’s the plexi on the door.
All you see is that 8mm
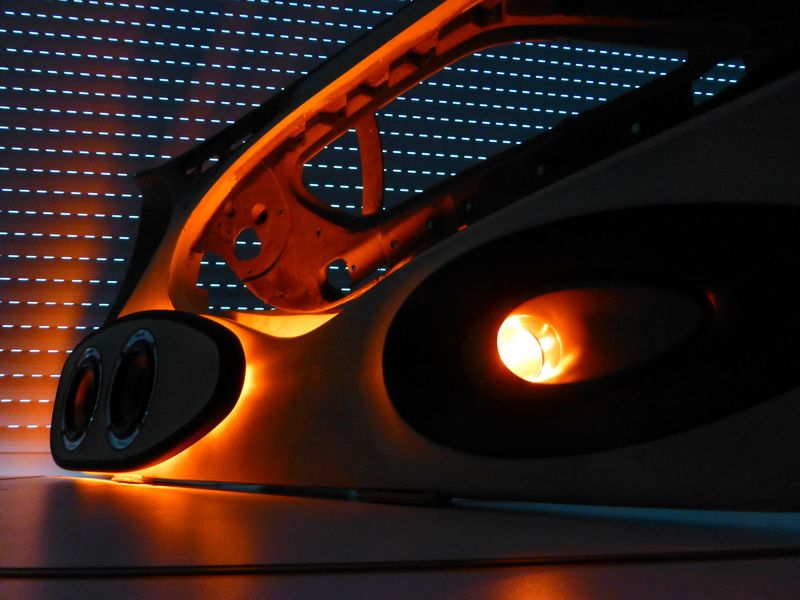
The speakerpanel and the plexi will be mounted with 7 screws, and that will hold it just fine.
Then, the speakers will be screwed on.
After that the coverplate will be on it, so it all looks smooth.
The coverpanel will be covered with carbon fibre. I’ll see this will be tightened strongly as well.
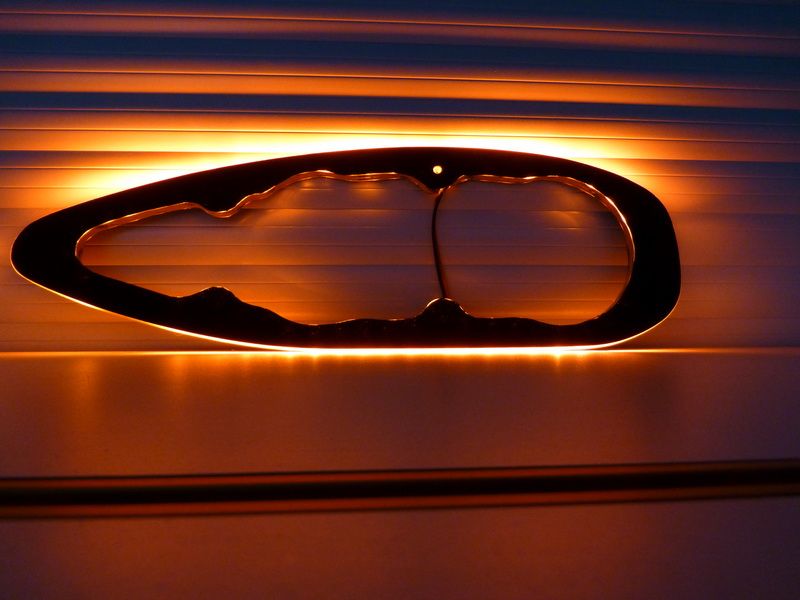
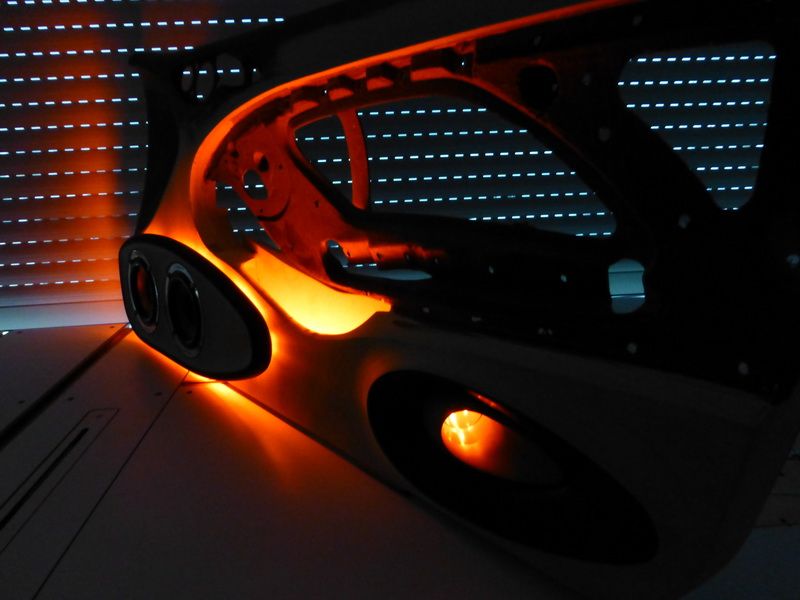
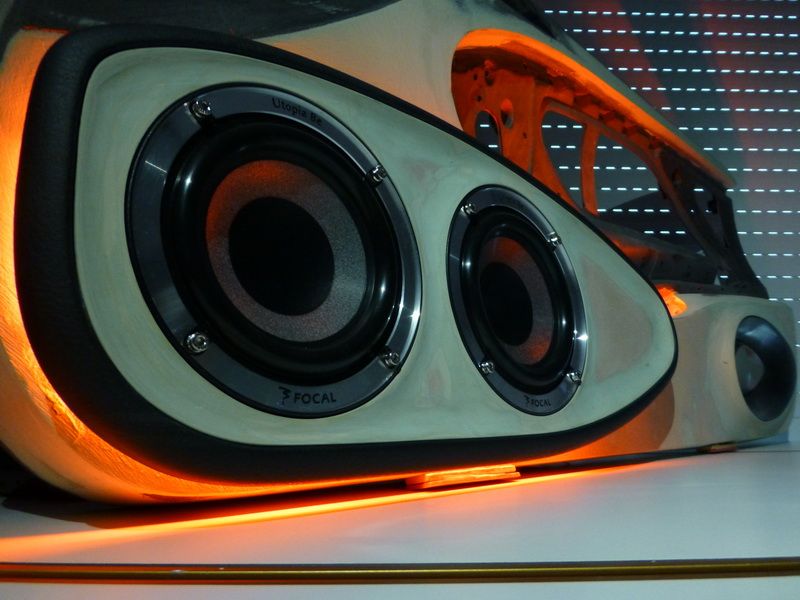
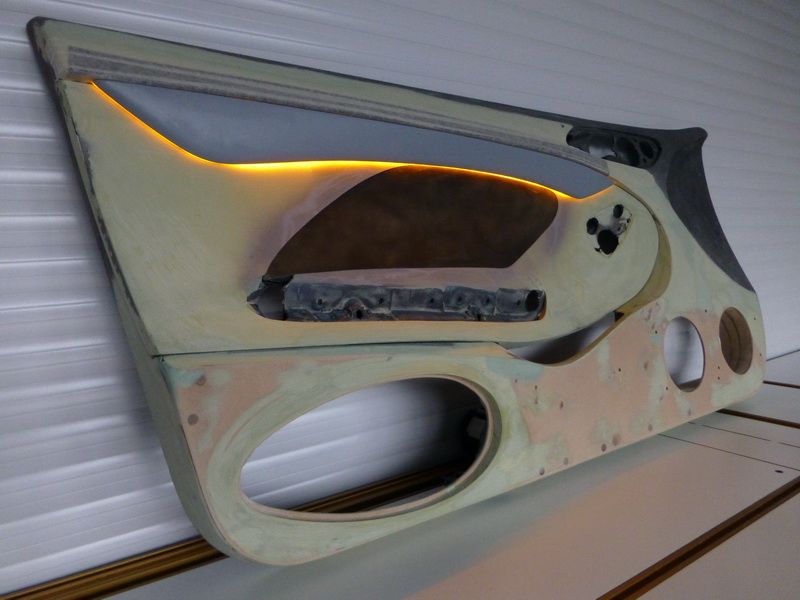
Here you can see everything with the lighting on.
The lighting is too bright as it is know. But once everything is mounted and ready, I’m going to adjust the brightness so it’ll look close like the interior lighting of the car.
I’ve got the bimmer for a long time know, and everytime I think that those idiots never made an cube inlay in the door, unlike the 4 door sedan .
Now I have the chance to make it myself. But to make something nice, I always have to modife several things first… Aaarg, why me!?
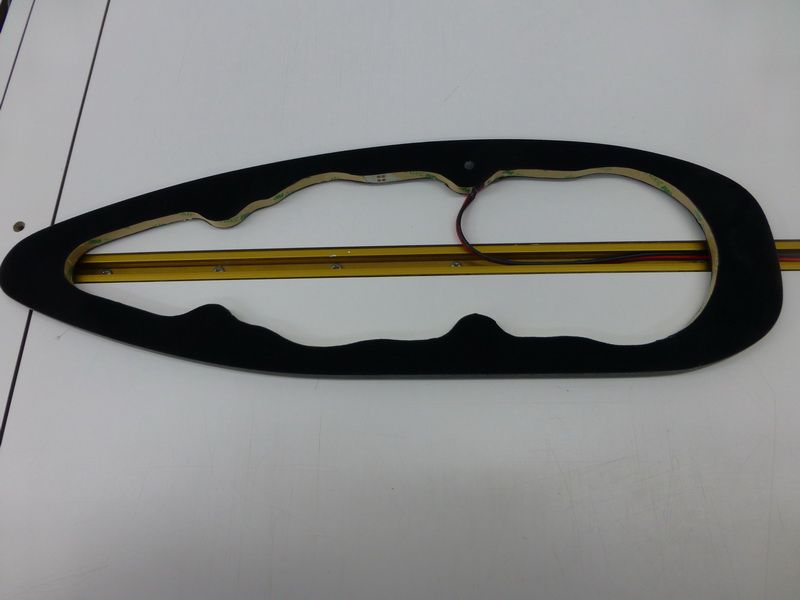
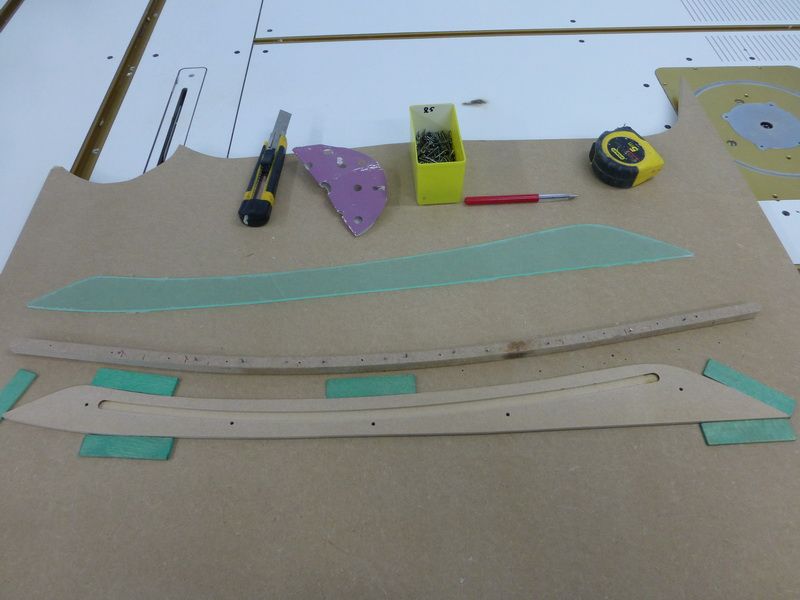
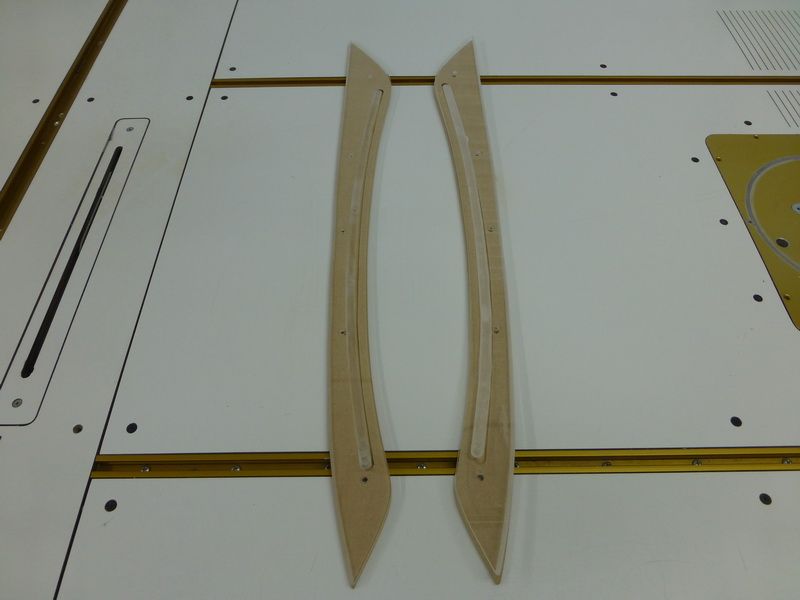
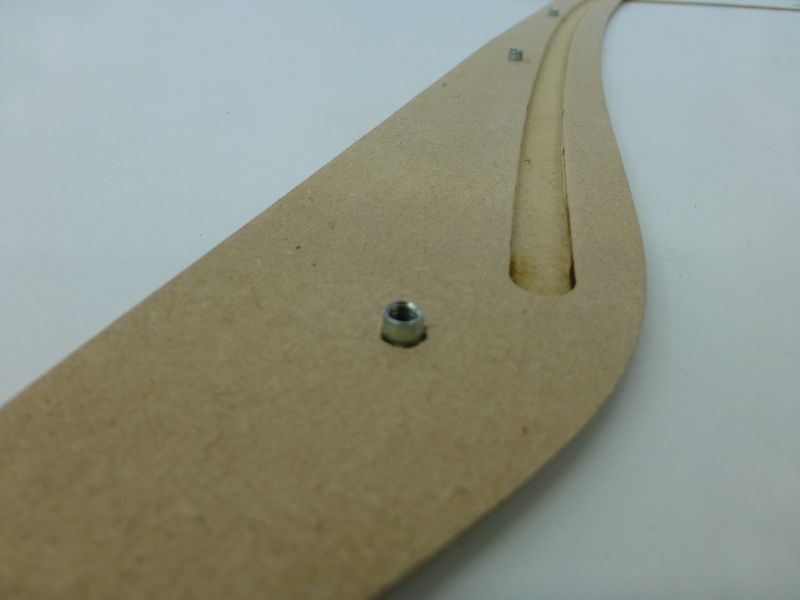
I made the doorpanel 10mm’s thicker where I’m putting the frame. If I didn’t do this, I couldn’t make a nice rounding.
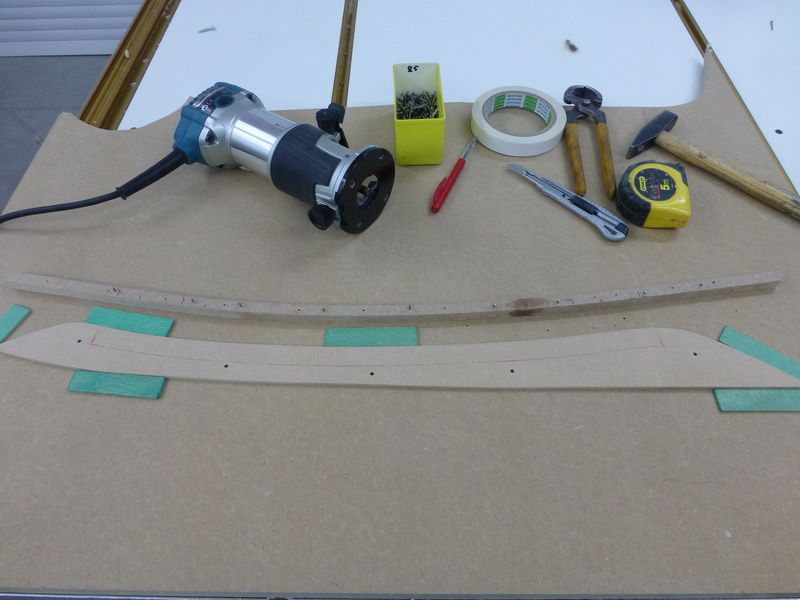
Once I had this, I could make the frames.
3 things I definately had to have: you can demount them, they must be in a matt gray like the original moldings AND the bottom must come in orange lighting.
The first 2 are “simple”, but the lighting, that’s something else
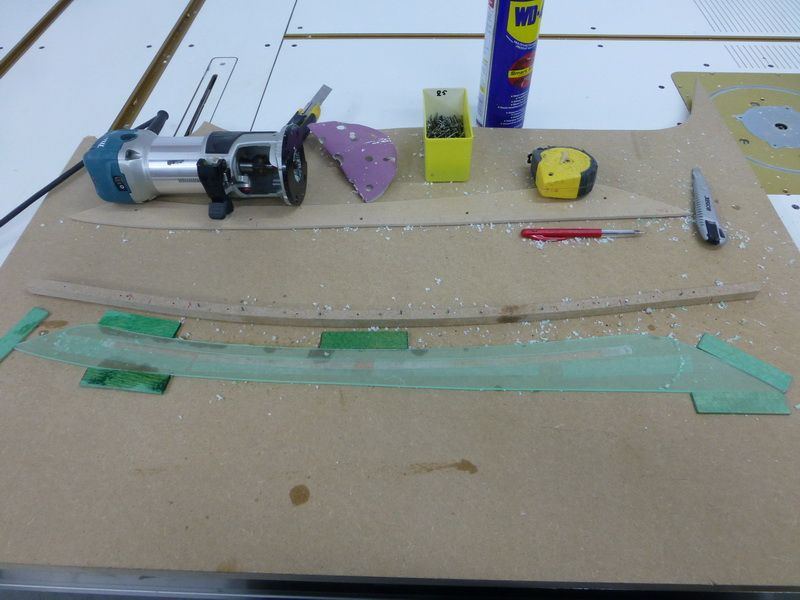
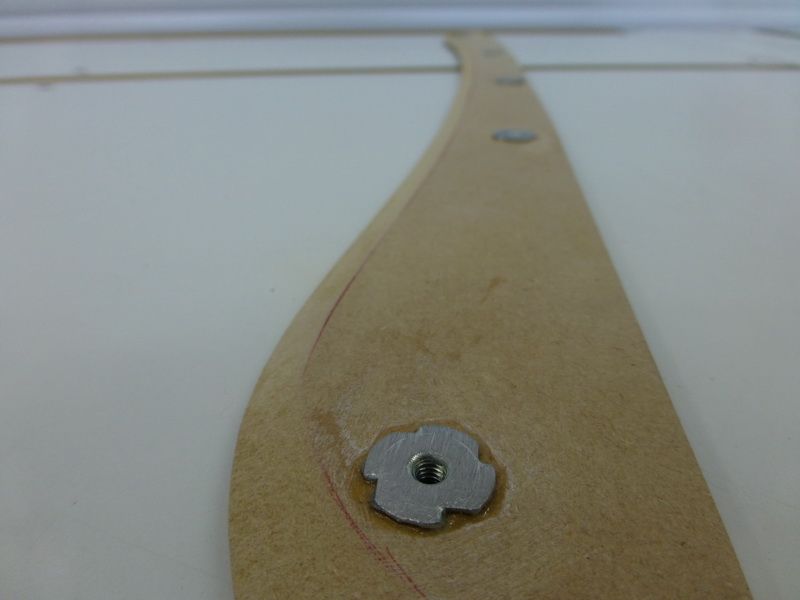
The frames are made out of 3mm thick plexiglass, and the MDF layer is 4mm thick. Once these are prepared, I’m putting a layer of fiberglass over it.
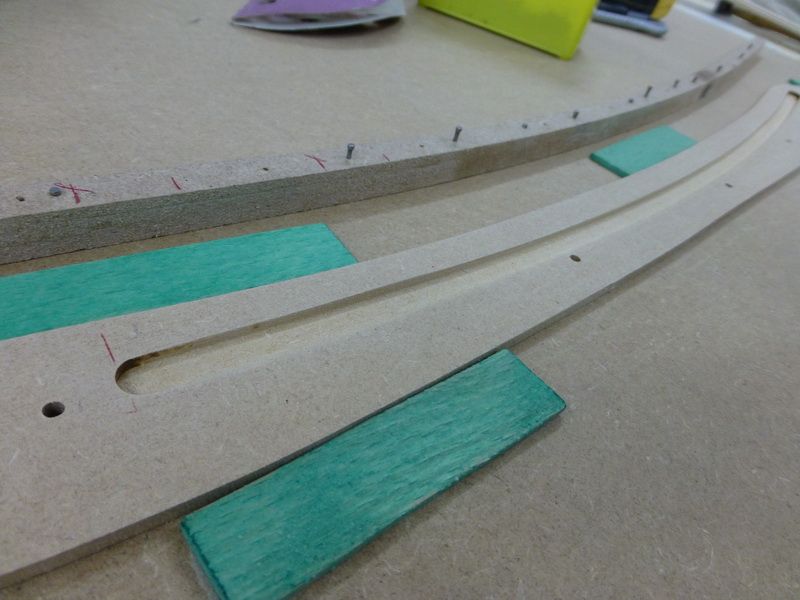
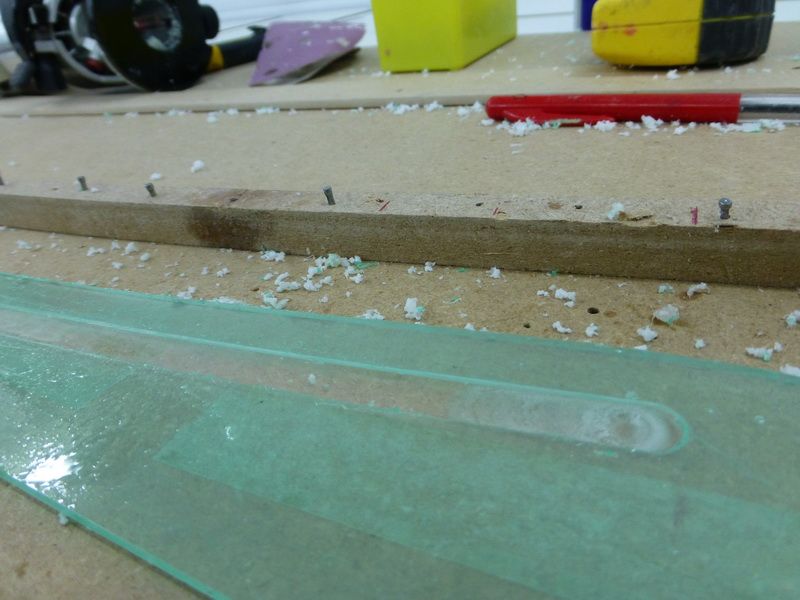
Here you can see the model of MDF wood. The meaning is to mill in a sloth of 8 by 3mm. I’m putting a LED strip in there to give light.
you can see here I used a little rail to put against my uppermill so I’m getting a nice rounding.
This is the slot milled.
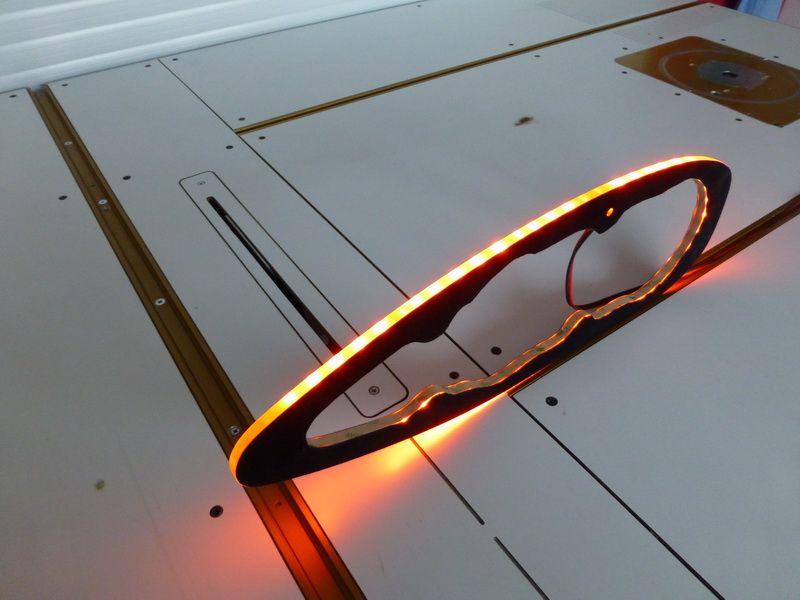
The same thing with plexi. I needed to do this so the sides of the plexi are nicely lightened. In my case this will be the bottom only.
Once these are finished, I’ll tape the led strip in, and the plexi will be glued against the MDF.
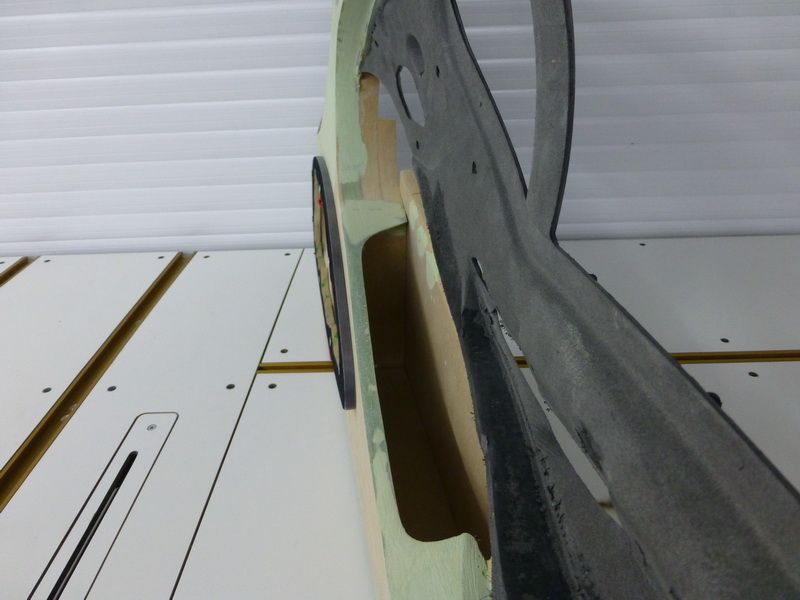
Underneath you can see the molding I sprayed in primer.
You can see it has the same curving of the door. In the middle (black) is a little hatch that opens when the airbag pops (hopefully never).
In the back you can see the original part I heavily modified.
You don’t want to know how many hours of work I’ve put into these 3 things…and it’s far from finished.
Here’s the hatch in the middle piece. As you can see, it fits perfectly. I glued it in with hot glue.
The meaning is I’m covering it all with carbon fibre, but then I have a big problem.
I’m planning of covering it up in one piece, and then cut out the airbag panel with a stanley cutter knife.
I want to make sure the carbon fibre lines will add up perfectly, and I’m thinking that’s the only way to do it.
When anyone has ideas of doing it otherwise, please tell me.
I also don’t want anymore tollerance between the two parts than the thickness of a cutter knife. Still not sure it’s going to work though… But I know know, it’ll be the hardest part to do in the whole “doorpanel story"
What you can see here is that I made the molding run in the same way as the airbagpanel. So I have a reference where to begin my cutting.
I made sure the bottom line is right under the handle (2mm). So you won’t see that if anyone goes wrong
I’m also very pleased with the orange lighting. I just need to adjust the brightness. The meaning is no light will come out on top, which it does now. I’m going to paint the topside of the plexiglass black, so no light will come through.
 Tweet
Tweet

 )
)
 .
.


Comment